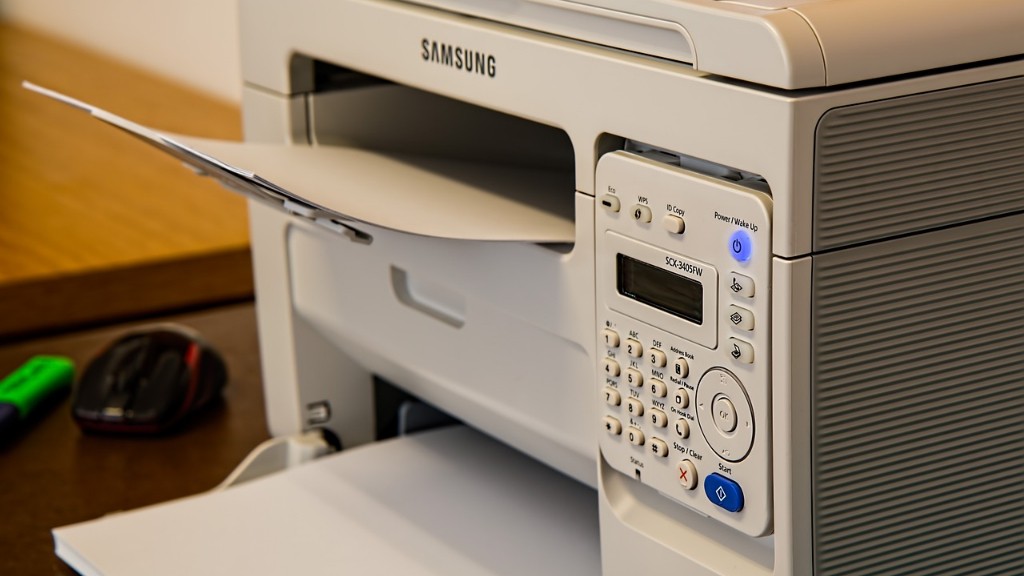
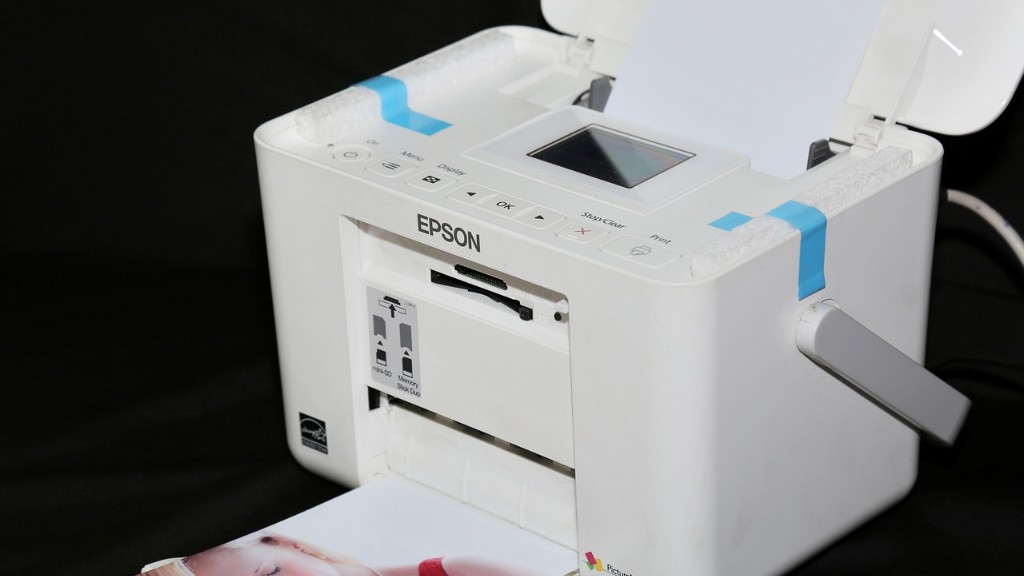
Faced with the challenge of setting up a wireless printer for the first time? It can be intimidating to navigate the language of networking and all the various steps necessary to connect one device to another. The good news is that many printers on the market today come equipped with WiFi functionality, allowing you to connect printers and PCs in a matter of minutes without any cables. Here’s how to connect your printer to your PC using WiFi and get printing today.
1. Determine Your Network Connection
Before you get started, make sure you’ve determined how your printer and PC are connected to the internet. Generally, there are two approaches you can take: connecting both devices to your router using a LAN cable or connecting them to your WiFi network. The first option is quicker and easier, but requires you to plug each device in with an Ethernet cable. Alternatively, setting up your printer to connect to your network using WiFi is more convenient but takes a bit longer. Whichever route you choose, the steps below will help you understand what to do.
2. Configure Your Printer to Use WiFi
If you’ve chosen to connect your printer to your network over WiFi, the first step is to configure it. All you need to do is access your printer’s settings by pressing the “Settings” button. Look for a menu item labelled “Wireless Settings” – this is where you will be able to enter the name of your WiFi network and password. If your printer doesn’t support WiFi directly, you might need to plug in a compatible WiFi dongle or use a USB cable to connect the printer and router.
3. Download and Install Printer Drivers
Once your printer is connected to your network, you’ll need to download and install the correct drivers onto your PC. Drivers are the link between your devices and the software you use to control them. Without the right drivers, your printer won’t be able to receive instructions from the computer.
Most manufacturers provide their drivers for download on their website. Simply choose the model of printer you have and select the most up to date version of the drivers available. Once you’ve downloaded the file, follow the installation instructions to get everything up and running.
4. Run the Printer Setup Wizard
When you have the drivers and printer set up correctly, it’s time to connect the two. To do this, run the printer setup wizard, which will be installed alongside the drivers.
The printer setup wizard will ask you to enter the IP address of the printer, which you can find in theWiFi settings. Enter it into the wizard, along with the model of printer you’re using, and the wizard will take care of the rest. Once it’s finished, you’ll be up and running with a wireless printer.
5. Troubleshooting Common Issues
If you’re having trouble connecting your printer to your PC, here are a few tips to help you get up and running:
– Be sure to use the right drivers for your printer. If you’re using an older model, you might need to download and install them manually.
– Check that your WiFi network is strong enough and that your router is up and running correctly.
– Make sure you have entered the correct IP address into the printer setup wizard.
6. Connecting Mobile Devices
In addition to connecting PC’s, you can also connect your mobile devices to your printer. Many current models support iOS and Android devices, allowing you to print documents, photos and web pages without plugging in a cable. To do so, you’ll need to install the relevant printer app onto your mobile device. Once that is installed, you can open the app, find the printer’s IP address and follow the on-screen instructions to connect it to your network.
7. The Benefits of WiFi Printing
By connecting both your PC and printer to your WiFi network, you can access and print documents from anywhere in your house. No more wasted time plugging in cables or running to the other side of the house to print something off. This is particularly useful for businesses that need to print large volumes of documents, as it allows for faster, more efficient printing.
8. Keeping Up to Date
Wireless printers are becoming more and more popular, but they need to be kept up to date in order to stay secure and functional. Regular firmware updates are essential for maintaining optimal performance, as is using a secure and encrypted WiFi network. If you’re in doubt, refer to your printer’s user manual for further instruction.
9. Professional Assistance
If your printer still won’t connect properly, or you’re worried about security, it might be worth getting professional help to set it up correctly. A local support technician should be able to help you configure your printer and get it up and running quickly, without the need to stress and worry about any technical problems.
10. Feel Confident Connecting Printer to PC with WifiBy following these steps, you should now be feeling much more confident about setting up your printer to connect to your PC over a network. WiFi is a convenient way to connect your printer and PC, giving you the freedom to print wirelessly wherever you are in the house. With the right setup, you’ll be able to print trouble-free.
11. Advanced Networking Methods
Although connecting your printer to your network over WiFi is the simplest and most convenient option, there are other ways to do it as well. Instead of using your general network, you can create a dedicated printer network, which is specifically designed for printing. This offers a higher level of security, as it prevents other people from accessing the data being sent between devices.
In order to set this up, you’ll need to connect your printer to your router using a LAN cable, and configure the settings so that your printer is given a static IP address. You’ll also need to set up a DHCP reservation on your router, so that the printer’s IP address doesn’t change when your network is restarted.
12. Print Servers
If your printer is compatible, you can also use a print server to connect it to your network. Print servers are dedicated devices that sit between your printer and your network, and are specifically designed for printing. All you’ll need to do is connect the printer to the server using a USB cable, and configure the settings on the server itself.
A print server also offers an additional layer of security, as you can configure it to only allow certain devices access to the printer. This means that anyone else on the network won’t be able to print to the printer, eliminating any potential security risks.
13. Network Printers
For large businesses and organizations, it’s often easier to set up a dedicated network printer. These are printers that are specifically designed to be used on a large network. They come with their own set of software and drivers, and can be configured to allow multiple users to print to the same printer without any issues.
In addition, network printers often come with additional features such as secure authentication, data encryption, and built-in firewall protection. These features help to protect sensitive data from falling into the wrong hands, which is important if you’re handling sensitive materials.
14. Exploring Wireless Printer Options
There are a range of options when it comes to connecting a printer to your network over WiFi. From dedicated print servers to network printers, there are a range of ways to set


